
Cheese and corn buns
The salty bread that children of all ages like is easy to operate, and novices can easily control it without plastic surgery one by one! The bread is soft and fluffy, so be sure to give it a try!
Cheese and corn buns
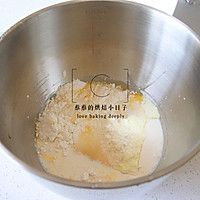
Step 1
Remove the butter from the dough ingredients, put the rest of the ingredients into the chef’s bucket, if you are a novice, you can also reserve a little milk, depending on the state of the dough and add it as appropriate.

Step 2
Knead until the extension stage and then add the butter and knead until the full stage. If you can’t knead the glove film to make this kind of bread, then a little thicker film will not have much effect, as long as you ensure the balance of ductility and elasticity, it is not as high as the requirements of toast.
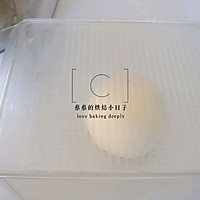
Step 3
Roll the kneaded dough into a round and put it in the fermentation box, cover with a lid and let it rest in a warm place of 25~28 degrees for 30 minutes.
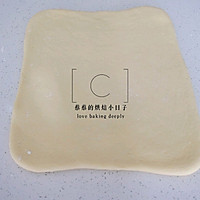
Step 4
The dough that has been loosened for 30 minutes is rolled out into a large sheet.
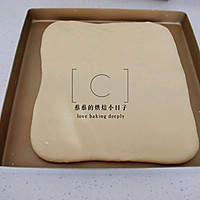
Step 5
The rolled dough is placed in a non-stick baking dish for a second proofing. It can be placed in the fermentation box or oven to proof, temperature 35 degrees, humidity 80%, and proofing for 30 minutes. The oven does not have humidity to adjust, you can put a bowl of warm water to maintain some humidity. Proofing to about 1.5~2 times larger, observe the smooth surface, and gently press the surface will have a slow rebound.
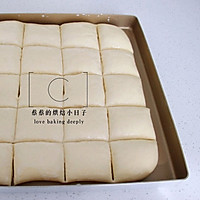
Step 6
After proofing, divide the dough into several parts with a spatula.

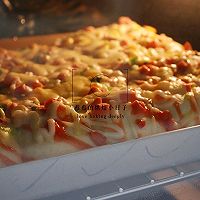
Step 7
Sprinkle with corn kernels, diced ham, chives, and squeeze with tomato sauce and salad dressing.

Step 8
Sprinkle with mozzarella cheese crumbs.
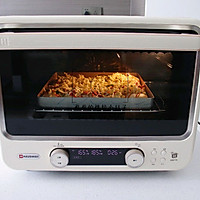
Step 9
Put in a fully preheated oven, heat 165 degrees, lower heat to 185 degrees, and bake for 26 minutes. The time temperature is for reference only, according to the actual adjustment of each oven! If you are satisfied with the coloring, you can also cover it with tin foil.
Step 10
Full of appetite~
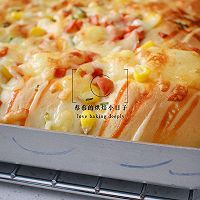
Step 11
It’s out of the oven, fragrant!

Step 12
After the oven, the mold is gently shaken, the hot air is shaken, and the mold is removed to the cooling rack to cool, and when it cools to a little residual temperature, it can be bagged and sealed for storage.

Step 13
The stretchy texture of the cheese is so healing!

Step 14
The bread is soft and brushed~

Step 15
You can divide it into pieces with just one hand, no need to shape them one by one, super simple.

Step 16
Salty bread that children of all ages like, let’s check in together!
Cooking tips for cheese corn buns
Be flexible with the liquid in the recipe and add as appropriate according to the dough condition. Many friends say: I made exactly the same recipe, why am I wet? Why did mine dry? Why… Why… To make bread, you must flexibly master the liquid in the recipe, because the water absorption of flour is different, the climate temperature and air humidity in the north and south are different, and you must look at the state of the dough and add it as appropriate, which is a cliché topic! There is a big difference between the large oven and the small oven itself, even if the two ovens of the same brand have a temperature difference.